

Published February 25, 2022
How to take your own listing photos

Photos are EVERYTHING for listings. This is something experienced agents and managing brokers may often tell you and it’s true. People will often decide to schedule a showing based on if they like what they see in pictures. This means you want them to be top quality if you want your homes to sell quickly. But, professional photos can get a bit pricey. Especially when you are first starting out in the real estate industry. So how can you take your own? While they may not be as “perfect” as professional photos, there are still ways you can make your personal photos look great and stand out from those photos that are taken quickly on a smartphone.
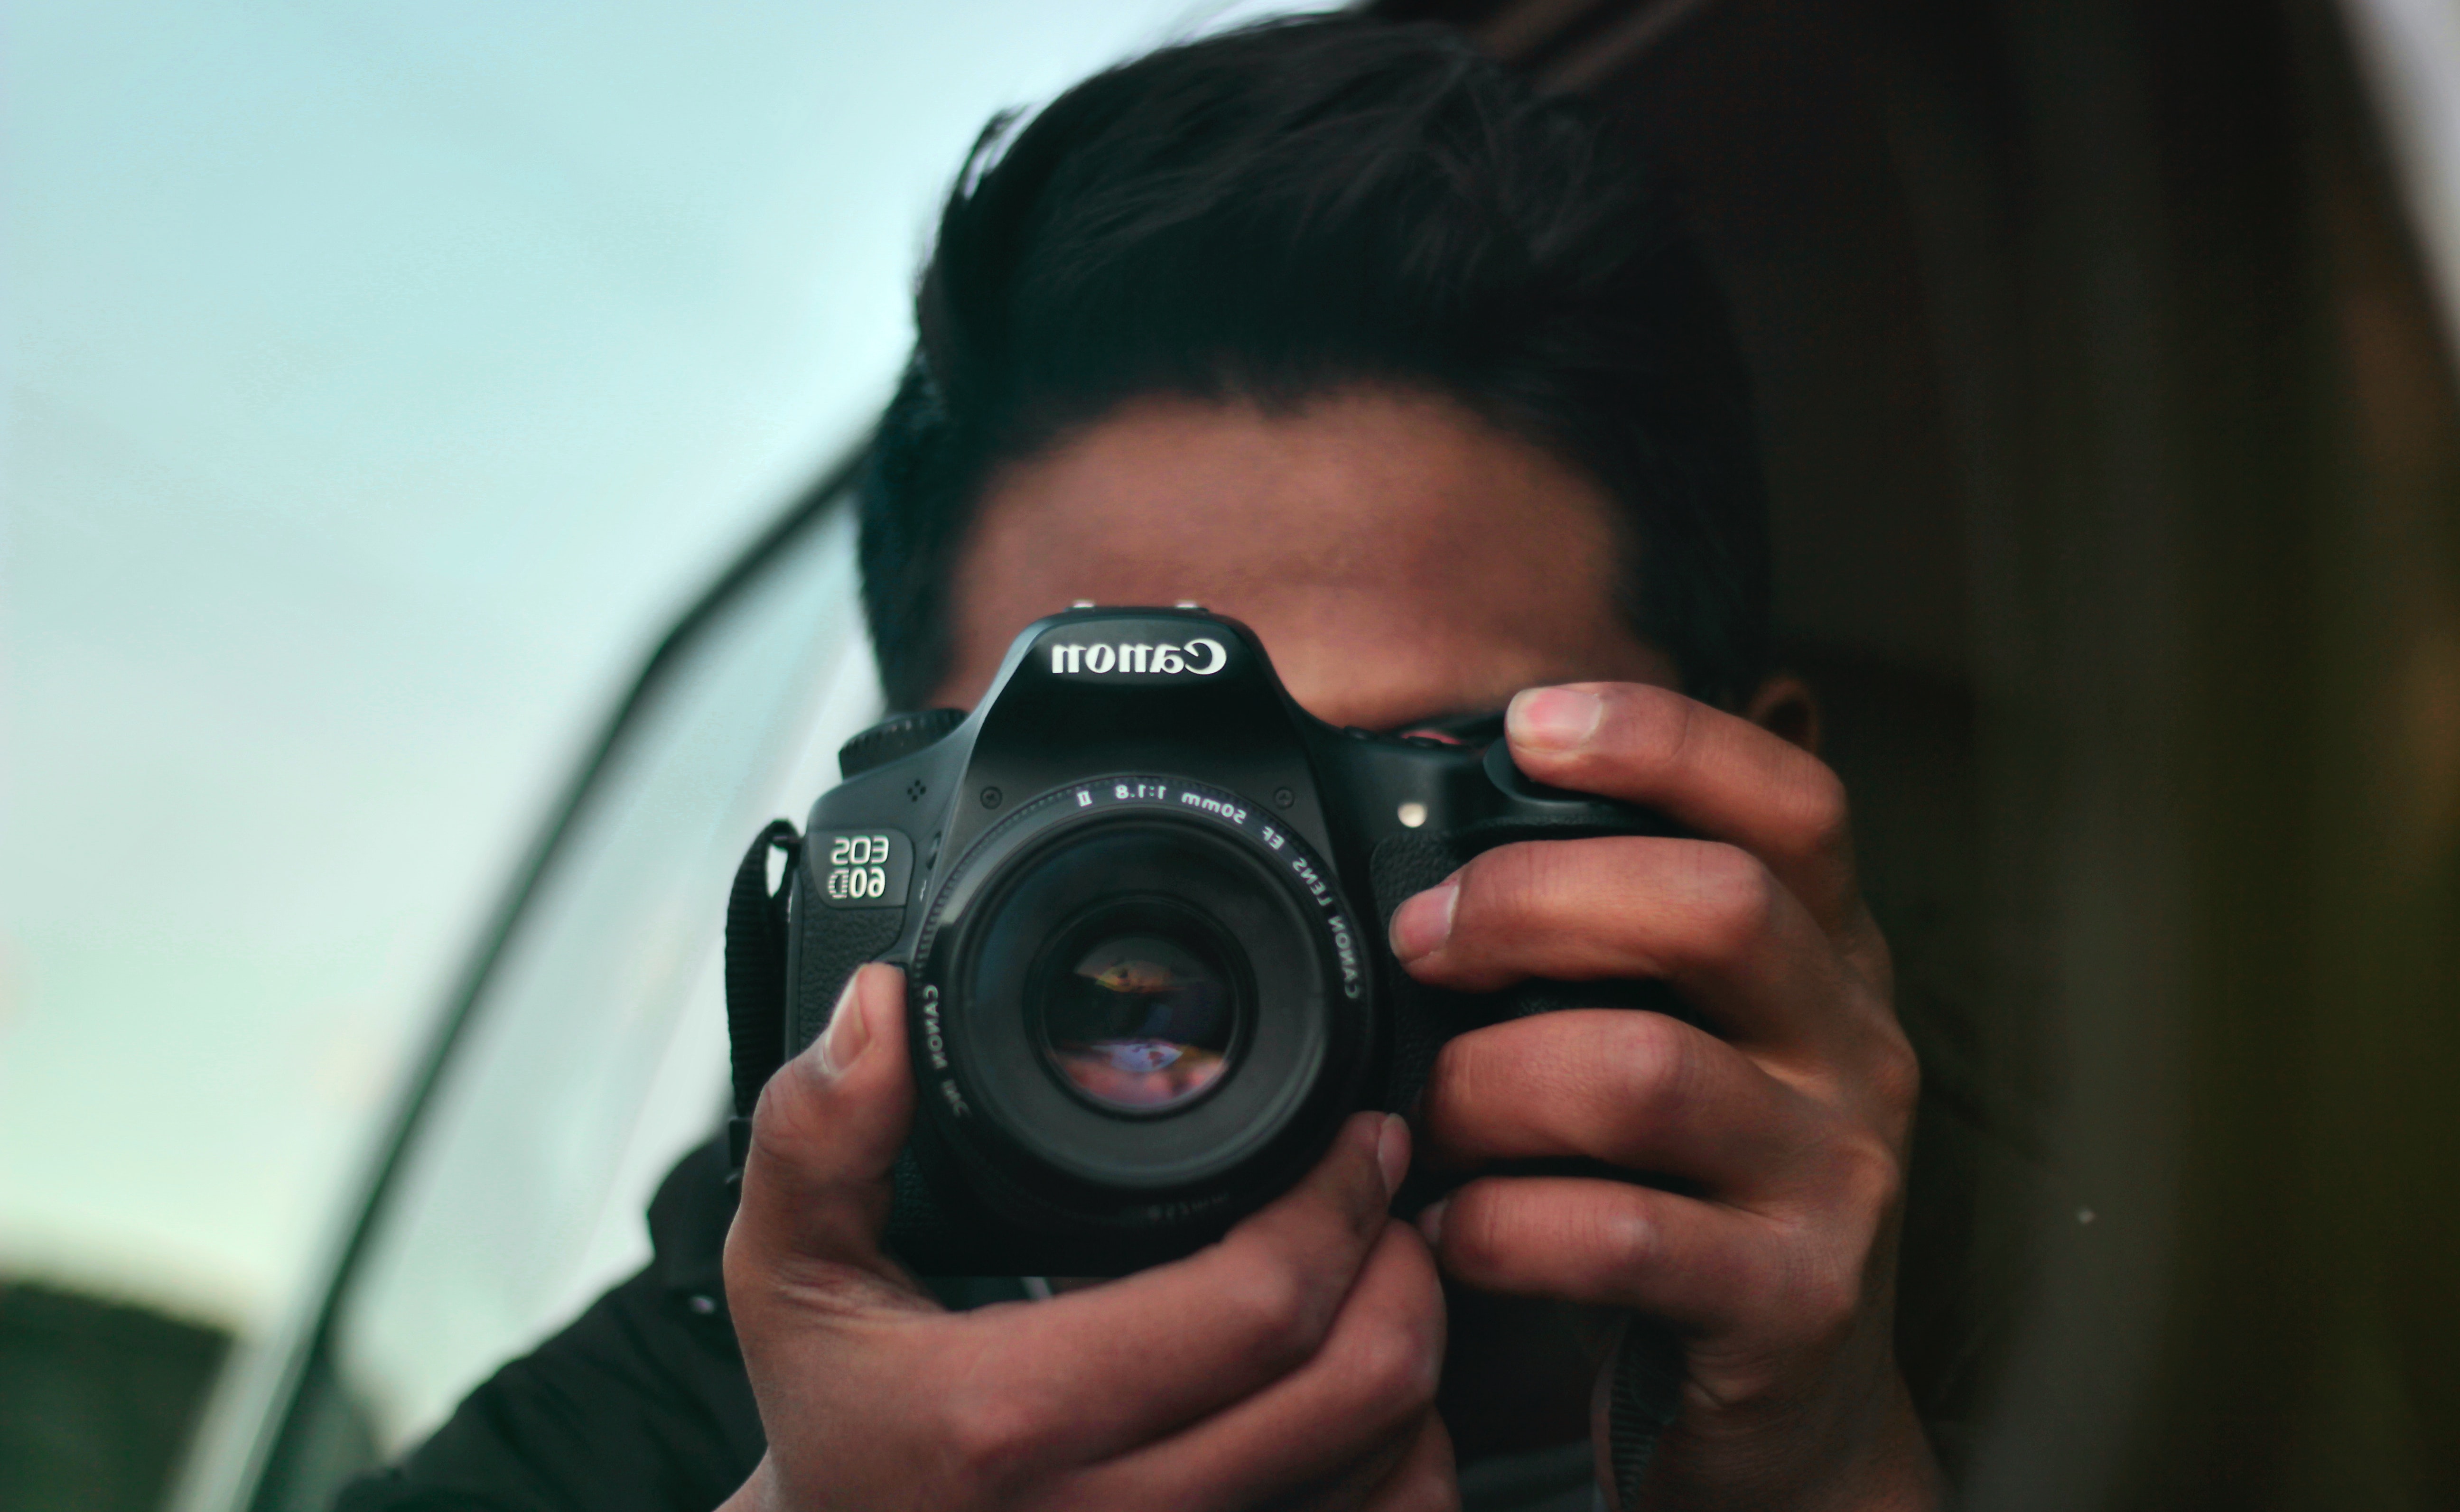
First things first, try to use a camera as opposed to a smartphone. Although the quality of phone cameras has improved over the last few years, you still want to ensure your photos are a crisp quality. That being said, consider investing in a camera. Nothing too crazy, but something that will get the job done and the money you save on pictures will pay for the cost of the camera ten-fold.
Next, make sure the home is presentable. Tell your clients they should get their homes “show ready.” This means:
Clear off all counters
Put away any unnecessary objects and clutter
Close the shower curtain
Close the toilet lid
Clean mirrors
Put away pet bowls
Store shows and jackets out of view
Make the beds
Straighten blinds and curtains
Remove photos, magnets etc. from fridge
Move garbage cans out of sight.
Turn off all electronics such as the TV
Turn off fans
Avoid cars in exterior photos
This list may seem tedious, but doing all these things can help show the home's best qualities.
Now that you know how to set up for the photos, what do you do? It is important to keep a few key things in mind.
Use light to your advantage: Position yourself with natural light behind you. If you are taking a photo facing natural light from windows or skylights, there is a VERY high chance you will drown out the room and any of the furniture in the frame. Standing with light behind you will also allow the room to be naturally illuminated. This can help avoid turning on too many lights that can create glare.
Stand out of view of mirrors: This can be tricky, you want to position yourself to get mirrors in the shot for some photos, i.e. the bathroom. Make sure you angel yourself so you cannot see yourself in the mirror. This small adjustment can take photos from looking very amateur, to more polished and professional. Also apply this to reflective surfaces such as fridges or steel of any kind!
Don’t stand directly in front of or next to large objects: Make sure nothing is obstructing the line of view of the photo. Standing next to lamps, large furniture and items such as a TV can block the view and make the room look small. Also avoid standing near corners of the room, this can also make the room look smaller.
Don’t be afraid to move objects: With permission of your sellers, move objects in the room to make it appear larger and to open up the space. If people can envision themselves in the space, they are more likely to want to see it!
“The trick to showcase the entire room is using a wide-angle lens for your listing photos. I used a Tamron lens with my Canon camera but the newer iPhones have a wide-angle setting. That and the lighting/editing make all the difference!" Ashley York, Realtopia Real Estate Designated Managing Broker, said.
Check out BoxBrownie to take your photos to the next level! BoxBrownie is a service that enhances ordinary photos. From minor edits, to brightening to virtually staging. Each service varies in price, but some are as low as $1.60.
Haley Galvin, Realtopia Real Estate Marketing and Brand Manager

Realtopia Real Estate
| Realtopia Real Estate
or another way